
Unit 1
Changing background
I was assigned to change the background of Stonehenge and one other image. I found it very easy to manipulate the background as I have a lot of experience in Photoshop. I first used the magic want to select the majority of the background, deleted it and then smoothed off the stones/foreground with a low intensity brush (so that there are not rigid edges). After that I made sure the lighting on the stones was correct, and corrected it by using the hue/saturation tool.
The reason I made the foreground black on picture 2 was to eliminate the lighting from the sun as my background focuses on the outer space where there is no light strong enough to light the ground. This also makes the image seem more realistic since the camera lenses area adapted to only pick up light from outer space, which leaves the foreground black. (The person was already in the photo)


Historical postcard
My task was to create a postcard of a historical event. I came up with three ideas: soldiers raising the American flag to end WWII, when humans will have to leave the Earth to colonise another planet, and the creation of Earth with life sprouting.
I decided to go with the creation of Earth as I can easily use contrasting colours so that the green plant will stand out from the red background. Even though green is a cold colour which will make it seem further away than red, I will heavily blur the background which will overpower the depth of colours.
Here is an image wall of all pictures that I have used to make the postcard:


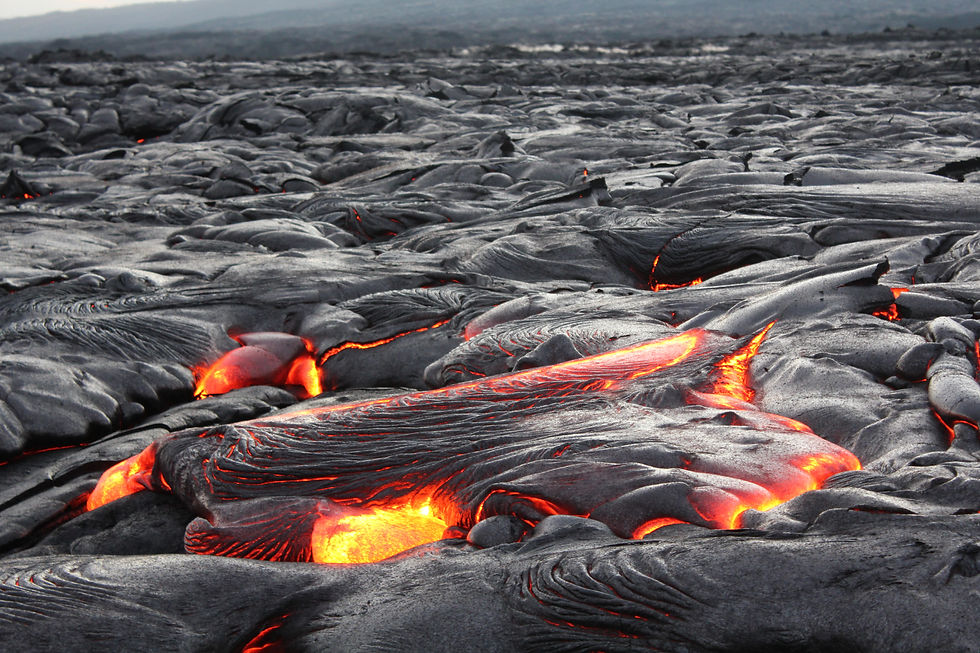


First off I increased the saturation and configured the hue to make the plant greener than it is naturally while still looking realistic. I also used the soil to make a more uneven ground around the plant, plus I reduced the saturation of the soil, which darkened and made it seem more volcano-like ground. The soil was linked with a black foreground to make the foreground seem closer to the camera, which will enhance the light and the life that the plant gives to the picture.
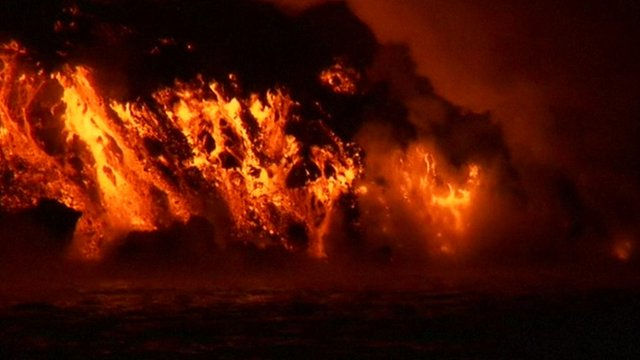
The whole background is a bunch of pictures put together fading in on each other, and since the background will be blurred it will not matter how the pictures are linked together as the background is supposed to look chaotic, not organised. I used an ash cloud from a volcano to create an illusion that the whole sky is just ash from volcanoes as it was when Earth was created. The background is a tiny bit see-through so that the dark red layer behind all pictures adds a red hue to all of the images.
(Hover to expand)
 Not blurred |  Blurred bg (FINAL) |
|---|
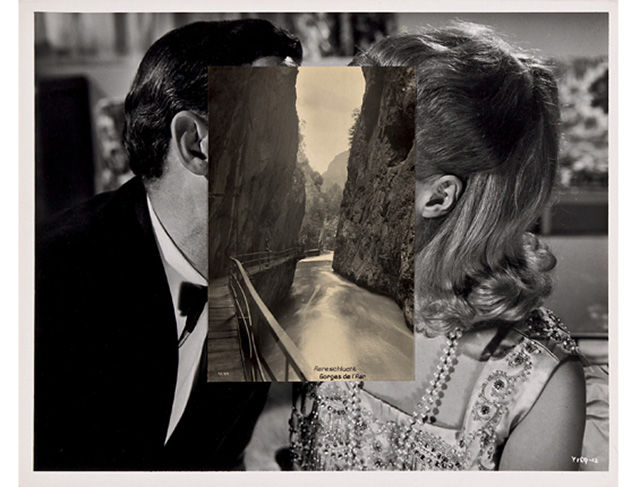
John Stezaker
His art is early Photoshop, where he lays 2 pictures together in layers and the takes another picture of them. He has a repeating style on all of his pictures; man and woman showing different view points on a certain problem, however he also does images of where he replaces part of the person's face with some scenery. This effect is powerful as you can see the person's face/reaction to the setting that they're in.
His marriage photo is a Photoshop of his wife, with him layered over her picture. This way we can see both of their faces aligned. The alignment creates a scene of unity and match which is perfect as it is their marriage photo, also their eyes being merged together makes it look like they are facing each other even though they are both facing the camera.
He has another style where he takes the silhouette of a person and in that he puts a setting of where the person could be. It puts the viewers in a guessing game of who is the person and so they will remember the image.
HIs art may not look impressive now since we have Photoshop that can do it 100x better, he did theses images in the 1970's which at that time his work was considered a masterpiece.
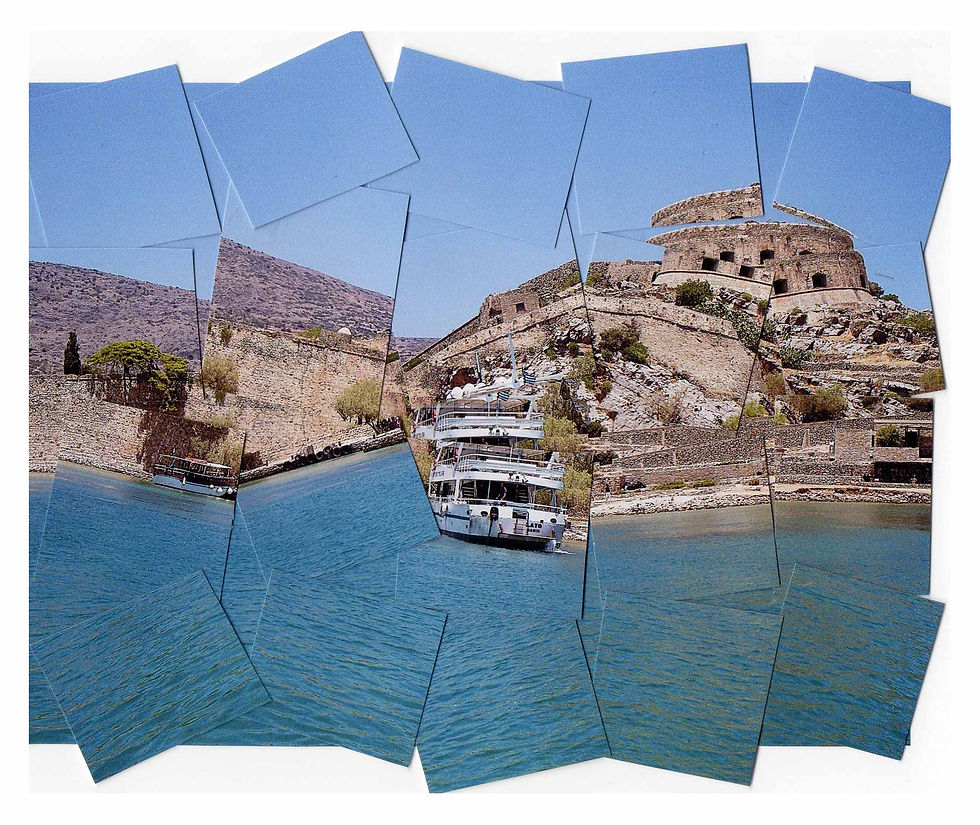
David Hockney
His art is another form of Photoshop except he does one image from dozens of pictures. He does a near panoramic and since he's taking a lot of images he can focus certain aspects such as the sunflower.
Born in 1937


Using greenscreen to change the background of a 2D image
The task is to change the background using a green screen. I faced two problems while creating the final image: the person responsible for setting up the green screen did not do a great job, which made many different shades of green on the green screen, the second problem I faced was the extreme colour bleed on her hair. I managed to get rid of the colour bleed by adding a new hue/saturation layer and using the master tool to lower down the saturation of the colour bleed, this is so that the colour matches her hair.
However the green screen can't always be used to get rid of the background as sometimes the green screen would be too small to fit the whole screen e.g. you won't use a green screen to edit out Stonehenge or the empire state building as it will be simply too hard to get a green screen that big.

 1) Cloudy background |  2) Lady with greenscreen |  3) selected and masked by green |
|---|---|---|
 Adjusted hue to prevent colour bleed |
Taking my own greenscreen
The green screen did not cover the whole photo so I first had to mask out all of the background, and then filter by colour to match the background. The green screen had a lot of shadows but it was still easy to shift-click all of the different shades. However I had a chair that was not green, so I had to use the rubber on a low intensity and carefully render by hand. After that it was a matter of making sure I'm in scale with the bench, unfortunately I had my glasses on so the flash from the camera reflected and from that you can tell the photo was shot in a studio not in the setting.
 greenscreen shot |  wooden bench |  rendered and colour filtered |
|---|
Playing with photoshop
 |  |  |
|---|
This is a simple yet effective Photoshop trick. First I lowed the opacity of the leopard so that it's easier to align to the her face, then rendered the leopard, lowered saturation, and made final adjustments with hue layers in combination to brightness/contrast to make the leopard face blend in with her face.
Stop motion animation
To successfully make the character fall I had to photohop my hand out by using the background of a previous image and simply mask out my hand. I also had some background showing from the side of the paper, so I did the same as I did to the hand.
